Using the Isometric Chair 3D Render Pack 16 in Real Design and Content Workflows
Visual assets often become the bottleneck in production timelines. Whether you are preparing marketing materials, designing a digital space, or building a pitch deck, sourcing consistent, high-quality imagery can slow down delivery. The Isometric Chair 3D Render Pack 16 addresses this specific pain point by providing a focused collection of sixteen ready-to-use isometric chair renders that slot directly into a wide range of creative and professional workflows.
This article explores what this pack contains, how it fits into broader processes, and practical strategies for integrating it smoothly into your own work. The focus is on implementation, organization, and long-term value rather than surface-level features.
What the Isometric Chair 3D Render Pack 16 Delivers
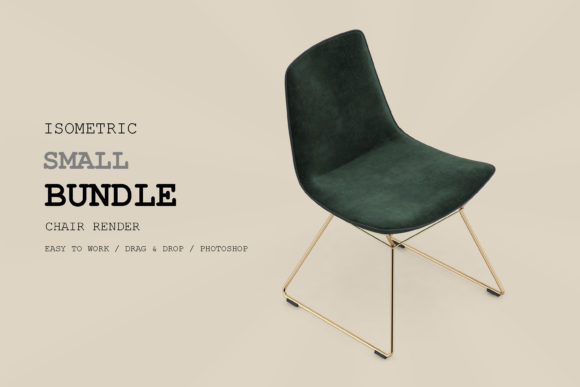
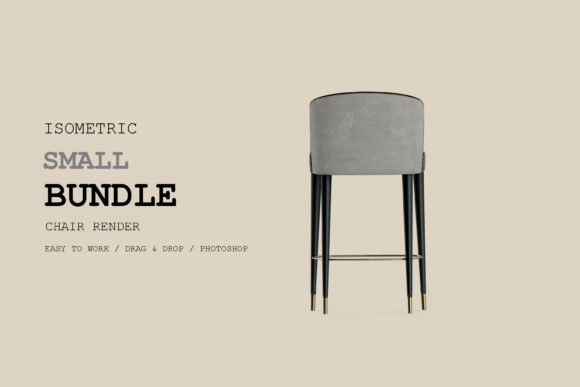
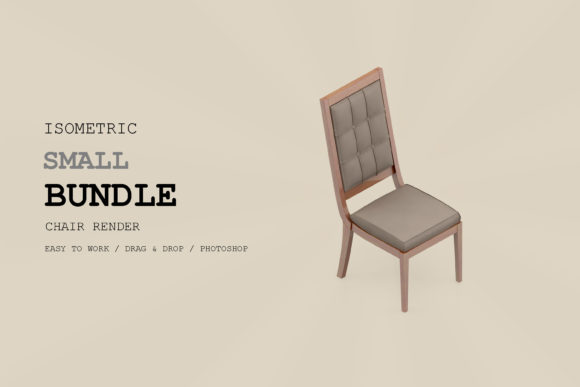
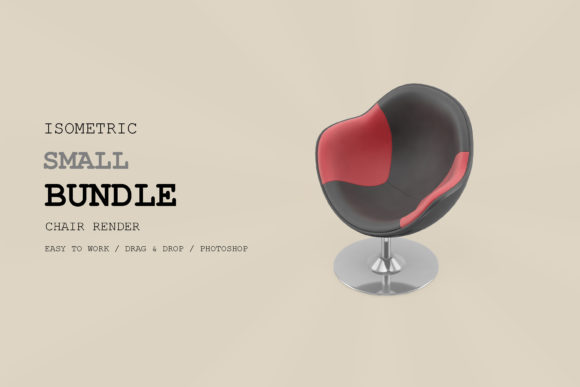
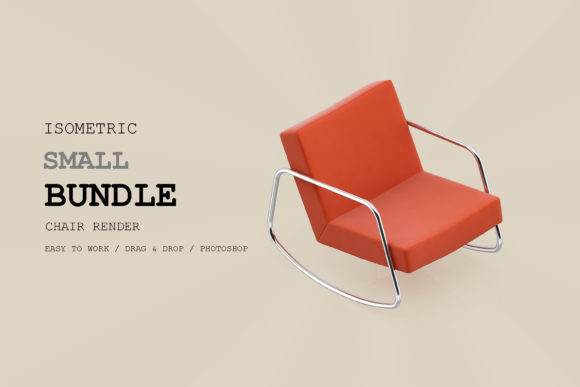
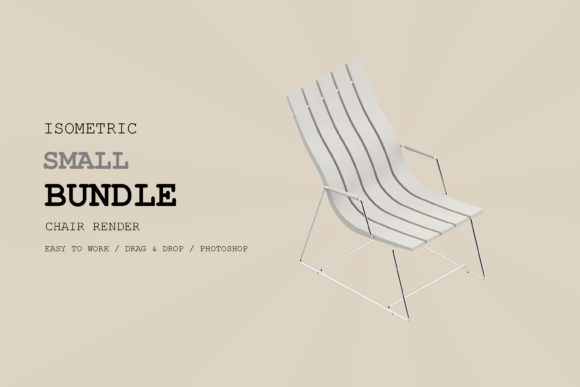
The pack consists of sixteen distinct isometric renderings of chairs, each produced with consistent lighting, perspective, and styling. Isometric projection offers a clean, technical aesthetic that works well in interface design, infographics, presentations, and explanatory content. The renders are typically delivered as transparent PNG files or high-resolution images, making them immediately usable without requiring additional 3D software or rendering expertise.
For anyone who has tried to generate isometric assets from scratch, the time savings are immediately clear. Modeling, texturing, lighting, and rendering a single isometric object takes hours or days depending on the required quality. A curated pack removes that upfront investment and allows you to focus on composition, layout, and messaging.
The consistency across all sixteen renders is a key advantage. When you place multiple chairs from the same pack into a single scene or across a set of slides, the visual harmony is already built in. This reduces the need for post-production adjustments and ensures a unified look throughout your project.
Where the Pack Fits in a Production Workflow
The Isometric Chair 3D Render Pack 16 is not a standalone solution for every visual problem, but it fills a specific gap in the asset pipeline. Understanding where it fits helps you use it more effectively.
Pre-Production and Planning
During the planning phase, you often need placeholder visuals that communicate scale, layout, and style. Because the renders in this pack are clean and neutral, they work well as stand-ins during wireframing or storyboarding. You can drop a render into a mockup to test composition before commissioning custom assets. This approach saves time and prevents costly revisions later in the process.
If you are designing a virtual environment, a retail layout, or an interior concept presentation, having a set of isometric chairs ready at the planning stage allows you to experiment with placement and density without waiting for a 3D artist to deliver a single render.
Active Production and Asset Integration
In the production phase, the pack reduces dependency on external creators. Freelancers and small studios often juggle tight deadlines, and outsourcing a single 3D render can introduce delays. With sixteen ready-made assets, you can populate scenes immediately. The renders can be layered into infographics, used as interactive elements in web prototypes, or placed into presentation templates with minimal adjustment.
Compatibility with common design tools is straightforward. The transparent backgrounds allow direct placement into software such as Figma, Sketch, Adobe XD, Canva, or Affinity Designer. For video workflows, the renders can be imported into After Effects or Premiere and animated using basic transforms. The isometric angle remains consistent, so scaling and positioning are predictable.
Post-Production and Quality Control
After assembling your visuals, the consistency of the pack helps during quality review. Because all renders share the same lighting direction and perspective, there is no need to rebalance shadows or adjust color temperatures across different assets. This speeds up final approvals and reduces the risk of visual inconsistencies slipping into the finished product.
If you need to apply a global style—such as a color overlay, a grain texture, or a drop shadow—the uniform base of each render makes batch processing simple. You can apply the same adjustment layer or filter across all sixteen assets and expect predictable results.
Practical Implementation Tips
Integrating the Isometric Chair 3D Render Pack 16 into your workflow involves more than just dragging files into a project. A few deliberate practices will help you get the most out of the collection.
Organize for Quick Access
Create a folder structure that separates the raw renders from any edited versions. For example, you might have a master library folder with subdirectories for each chair style, plus a "modified" folder for assets you have recolored or cropped. Naming each file descriptively—such as "chair_side_blue_highback.png"—saves time when searching across multiple projects. If you work with a team, sharing a linked library in a cloud drive ensures everyone pulls from the same source.
Establish a Color and Style System
While the renders arrive in a default palette, you can easily apply tinting or duotone effects to match a brand guideline. In tools like Photoshop or Figma, apply a color overlay using blend modes such as Multiply or Overlay. If your project uses a specific accent color, test the overlay on two or three different chair shapes first to confirm the result looks intentional across all variations.
For presentations, consider creating a master slide or artboard that holds each chair render at a consistent scale. This becomes a reusable template for future projects, maintaining visual consistency across multiple decks or documents.
Pair with Other Asset Types
Isometric chair renders work especially well when combined with other isometric objects—tables, plants, screens, or architectural elements. If you have access to complementary packs or can create basic matching shapes, you can build entire scenes quickly. For instance, placing a chair render next to an isometric desk and a monitor creates a realistic workstation environment in minutes. The key is maintaining the same isometric angle and projection across all assets.
If you do not have matching supplementary packs, you can still use the chairs as standalone icons or accent graphics. Their clean silhouette and consistent perspective make them effective as visual markers in diagrams, flowcharts, or instructional materials.
Use Cases Across Different Roles
The value of the Isometric Chair 3D Render Pack 16 extends beyond graphic designers. Different professionals can adapt the pack to their specific needs.
Presentations and Pitch Decks
Entrepreneurs and business professionals often rely on presentation templates that feel generic. Adding a custom isometric render elevates the visual quality without requiring design skills. A slide about office layout, coworking trends, or remote work can feature a chair render as a supporting visual. Because the isometric style looks polished but not flashy, it works well in both internal decks and client-facing pitches.
Educational and Instructional Content
Educators and trainers can use the renders to illustrate concepts related to ergonomics, interior design, or manufacturing. The isometric view provides a clear, diagrammatic look that helps learners understand spatial relationships. You can annotate the renders with arrows, labels, or callouts without the background interfering with readability.
Marketing and Social Media
For marketers and content creators, the pack offers a quick way to produce consistent visuals for posts, banners, or landing pages. Rotating through different chair styles within the same campaign maintains visual interest while preserving brand consistency. The renders can also be animated slightly—such as a slow bounce or rotation—to create short video assets for social feeds.
Interface and Prototype Design
UI designers working on apps or websites that involve furniture, office layouts, or retail planning can use the renders as realistic but lightweight icons. Unlike photographic images, isometric renders load quickly and scale cleanly at different resolutions. They also feel more upscale than flat vector icons, adding depth to the interface without harming performance.
Managing Quality and Long-Term Value
A render pack is only as useful as its ability to remain relevant across multiple projects. A few habits will help you preserve and extend the value of the Isometric Chair 3D Render Pack 16.
Version Control and Backups
Keep the original pack files untouched in a dedicated archive folder. Copy the assets you need into individual project folders. This prevents accidental overwrites and ensures you can always return to the original files if a project requires a fresh start. If you work with a team, consider using a digital asset management tool or a simple shared spreadsheet to track which renders have been used in which projects.
Evaluating Fit Before Scaling
Before committing to a full campaign or deck built around these renders, test the alignment with your brand. Print a test page or preview the renders on the actual background you intend to use. The isometric style may feel out of place in highly organic or hand-drawn contexts. By evaluating early, you avoid rework and maintain a cohesive visual identity.
Extending with Custom Edits
As you become comfortable with the pack, consider making small customizations to broaden the range of available visuals. Changing the seat color, adding a texture overlay, or merging a chair render with a different background can generate new assets that still share the original isometric consistency. Document these variations in your asset library so you do not duplicate efforts later.
Observations on Workflow Efficiency
From a practical standpoint, the greatest efficiency gain from the Isometric Chair 3D Render Pack 16 comes from eliminating the render queue. When you need an isometric chair visual now—not after a render farm finishes—the pack delivers. This immediacy is especially valuable for freelance professionals who bill by the hour and cannot afford to wait on asset production.
The pack also reduces decision fatigue. With sixteen curated options, you can choose a style that fits the context without being overwhelmed by endless variations. The limitation is actually a feature: it forces you to work within a defined set of possibilities, which often leads to faster creative decisions and more consistent output.
If you find yourself needing a different perspective or a specific chair type that is not included, the pack still provides a solid reference point. You can commission a custom render that matches the existing set, or you can use the pack as a styling guide for your own modeling work.
Ultimately, the value of any asset pack is measured by how seamlessly it integrates into your existing process. The Isometric Chair 3D Render Pack 16 earns its place by being predictable, versatile, and immediately usable. For anyone who works with isometric visuals regularly, it is a practical addition to the toolkit that removes friction and frees up time for higher-value creative work.